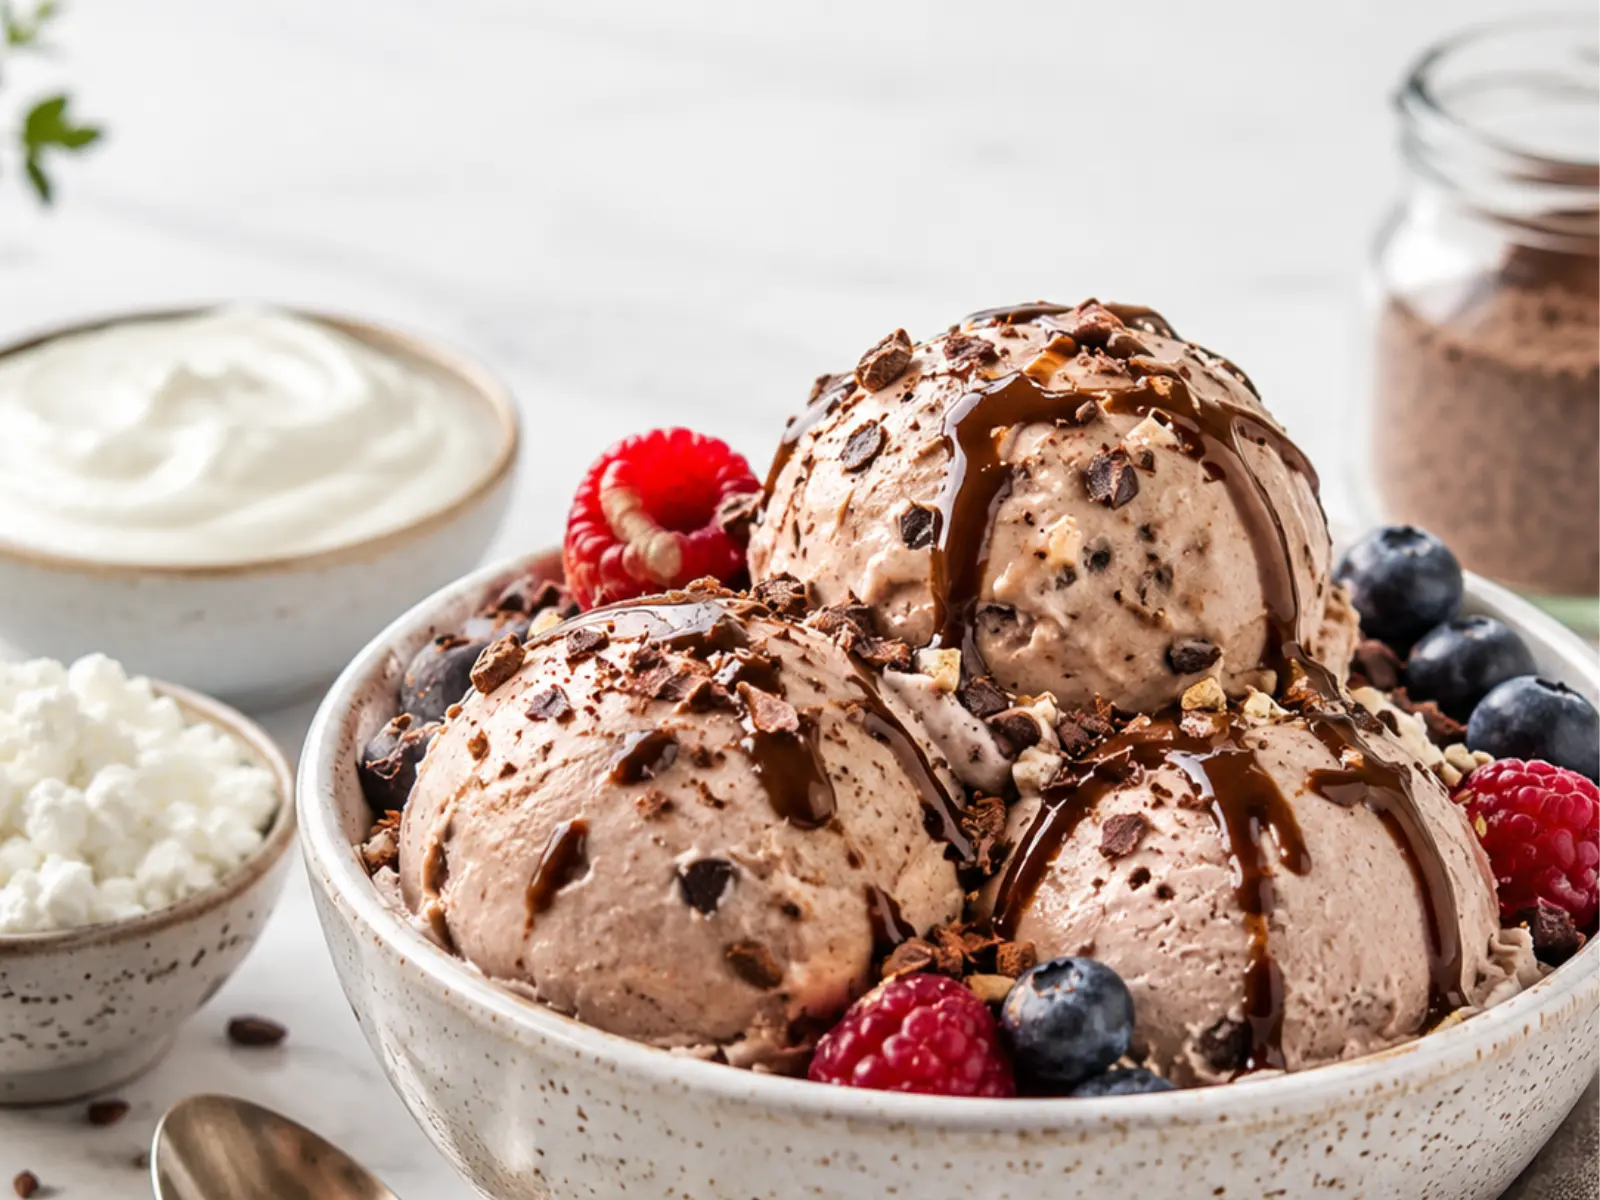
Let me be honest with you: I used to think “high protein ice cream” was code for “sad, chalky, protein-powder dessert that you eat out of obligation.” Then I started making it with cottage cheese, and everything changed. No powder, no chalk, no special machine — just a creamy, genuinely delicious scoop that happens to be packed with protein.
That’s the whole promise of this guide. I’ve made high protein ice cream just about every way there is — cottage cheese, Greek yogurt, protein powder, in a Ninja Creami, and the easy no-churn way in a loaf pan — and I’m going to save you the trial and error. We’ll cover the best base to use, three simple methods, a stack of flavors to try, and straight answers about whether it’s actually good for you. No filler, just what works.
Table of Contents
Is High Protein Ice Cream Actually Healthy?
Mostly, yes — and here’s the honest version. Compared to regular ice cream, a homemade high protein scoop usually has more protein and less sugar and fat, because you’re building it on a protein-rich base instead of cream and sugar. You also control every ingredient, which is something no freezer aisle can offer.
The fair caveat: most of us already eat plenty of protein, so this isn’t a magic health food you should eat by the bowlful. What it is is a smarter take on a dessert you’d have anyway — more filling, less sugary, and free of mystery ingredients. A single half-cup of cottage cheese brings roughly 14 grams of protein with barely any sugar, which is exactly why it makes such a brilliant ice cream base. (Consider this general info, not medical advice — check with your doctor for your own needs.)
Homemade vs Store-Bought: The Real Difference
The case for making your own gets obvious the second you compare the numbers. Even the trendy “light” pints tend to carry more sugar and a fraction of the protein of a homemade batch:
| Per serving | Homemade (cottage cheese) | Typical store pint |
|---|---|---|
| Calories | ~200 | ~350+ |
| Protein | ~15–20 g | ~5 g |
| Sugar | ~15 g (or ~0 sugar-free) | ~28 g+ |
| Cost | Pennies | Premium price |
More protein, less sugar, less money, and full control over the flavor. That’s a trade I’ll take every time.
What’s the Best Protein Base for Ice Cream?
This is the part that actually decides whether your ice cream is amazing or chalky — and most recipes get it wrong by defaulting to protein powder. Here’s my honest ranking after a lot of batches.
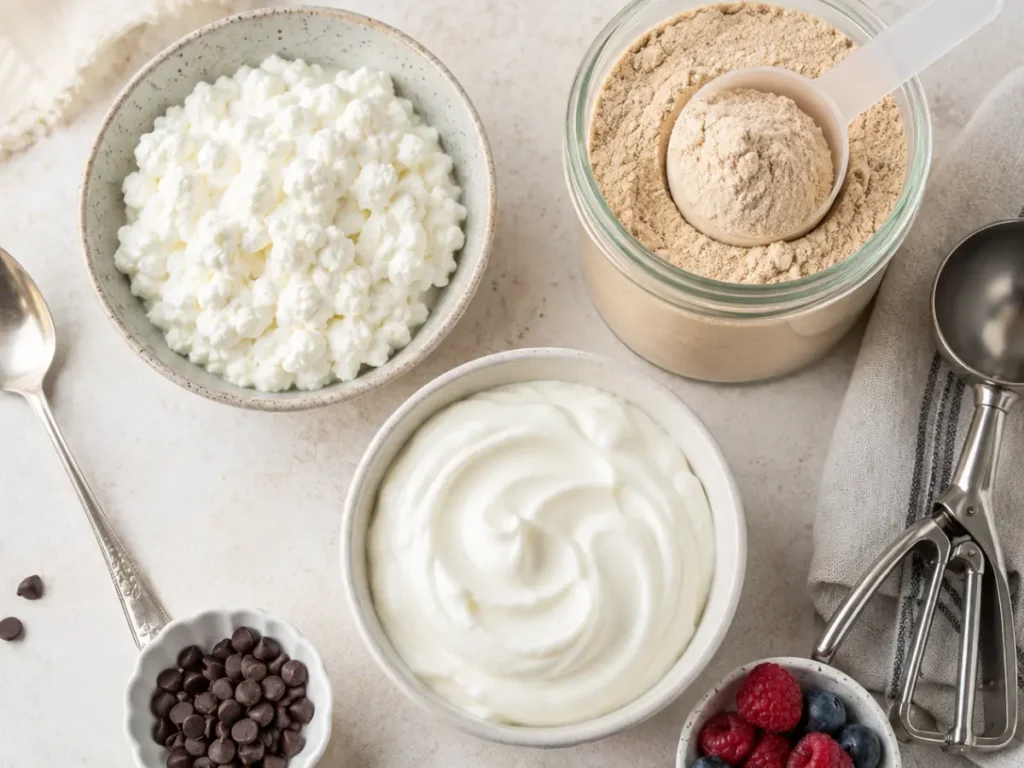
Cottage cheese is the winner, full stop. Blended until silky, it becomes a thick, creamy base with zero graininess and just a whisper of tang that vanishes under any flavor. It’s a real, whole food, it’s naturally high in protein, and nobody will ever guess it’s in there. It’s the foundation of my entire cottage cheese ice cream collection.
Greek yogurt is a close second — creamy, tangy, protein-rich, and another no-powder option. It sets a little firmer, so it likes a splash of cream or a stir as it freezes.
Protein powder delivers the most protein per scoop, but be warned: a lot of powders taste chalky or beany, and the wrong one ruins the batch. If you use it, pick a flavor you actually enjoy and blend it well with milk.
Quick side-by-side:
| Base | Protein | Taste & texture | Powder needed? |
|---|---|---|---|
| Cottage cheese | High | Creamy, neutral blended | No |
| Greek yogurt | High | Creamy, tangy | No |
| Whey / casein powder | Highest | Often chalky | Yes |
| Plant powder | High | Varies | Yes |
Bottom line: skip the powder and reach for cottage cheese. It’s the easiest path to a creamy, high protein ice cream that tastes like a treat.
Three Easy Ways to Make It
You don’t need fancy gear. Pick the method that fits your kitchen — including the two big recipe sites always seem to forget: no machine, and no powder.
No-Churn (No Machine, No Powder)
My go-to. Blend cottage cheese or Greek yogurt with a sweetener, vanilla, and your flavor until perfectly smooth, pour into a loaf pan, and freeze a few hours, stirring once early on so it stays creamy. That’s the entire process.
Ninja Creami
Got a Creami? It makes the silkiest version going. Blend the base, freeze it flat in a pint for 24 hours, spin it, then add a splash of milk and re-spin if it looks crumbly. My Ninja Creami recipes have more ideas, and the Ninja Creami cottage cheese version walks you through it.
Mason Jar Shake
For a single serving with zero equipment, shake your base, a little milk, and sweetener in a sealed jar until thick, then freeze a couple of hours. Quick, creamy, and perfect after a workout.
The base is the same for all three — start there and flavor it however you like.
High Protein Ice Cream Flavors to Try
Once you’ve got the base down, the fun begins. Here are my favorite flavors, each with a full recipe:
- Classic — the creamy original: cottage cheese ice cream
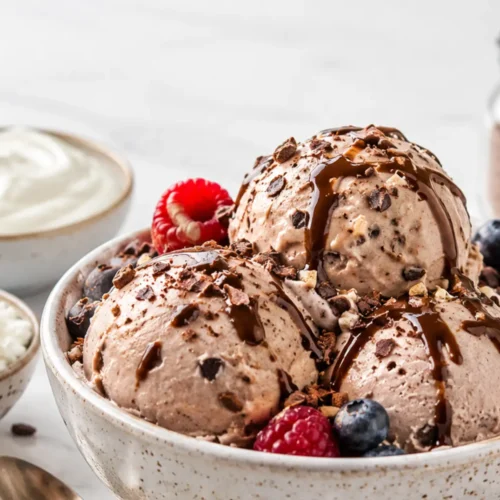
- Chocolate — rich and fudgy: chocolate cottage cheese ice cream
- Strawberry — like frozen cheesecake: strawberry cottage cheese ice cream
- Keto / low-sugar — sugar-free and low-carb: keto cottage cheese ice cream
- Ninja Creami — the creamiest: Ninja Creami cottage cheese ice cream
Feeling experimental? Stir in cocoa for chocolate, espresso for coffee, peanut butter, mashed banana, fresh berries, or chocolate chips. The base takes flavor like a dream — no chalky aftertaste anywhere.
Tips for the Creamiest Scoop
A few hard-won lessons:
- Blend it really smooth — any curds or grit will show up frozen.
- Don’t go fat-free — a full-fat base or a splash of cream keeps it from freezing into a brick.
- Sweeten before freezing — cold dulls sweetness, so taste the base first; go sugar-free for a low-calorie or keto batch.
- Stir as it freezes (no-churn) to break up ice crystals.
- Let it soften a few minutes before scooping.
- Choose a powder you like if you use one — chalky doesn’t improve in the freezer.
Is It Good for Diabetics?
A lower-sugar homemade version — especially a sugar-free one — is generally easier on blood sugar than regular ice cream, since there’s less sugar and more protein to slow things down. For many people watching their blood sugar, that makes it a reasonable choice in sensible portions.
Everyone’s different, though, and ingredients and serving sizes matter, so take this as general guidance rather than a medical promise. If you want a ready-made low-sugar option, my keto cottage cheese ice cream is the lowest-carb pick in the bunch.
Storing It
Keep your high protein ice cream airtight in the freezer — it’s creamiest in the first week or two. Because protein-rich bases set firm, give it a few minutes on the counter before scooping.
Your Questions, Answered
Is high protein ice cream healthy?
Usually yes — more protein, less sugar and fat than regular ice cream, especially homemade. Most people already get enough protein, so enjoy it as a smarter treat rather than a health requirement.
How do I make high protein ice cream?
Blend a protein-rich base (cottage cheese, Greek yogurt, or powder with milk) with sweetener and vanilla until smooth, then freeze — no-churn in a loaf pan, in a Ninja Creami, or shaken in a jar.
What’s the best protein for ice cream?
Cottage cheese — creamy when blended, no chalk, no powder needed. Greek yogurt is another great whole-food option. Protein powder gives the most protein but can taste chalky.
Is high protein ice cream good for diabetics?
A lower-sugar, higher-protein homemade version (especially sugar-free) is generally gentler on blood sugar, but portions and ingredients matter. General guidance, not medical advice.
Can I make it without protein powder?
Yes — cottage cheese or Greek yogurt makes a creamy, high-protein base with no powder and no chalky aftertaste. It’s the method I recommend most.
Can I make it without a Ninja Creami?
Absolutely. The no-churn method needs only a blender and a freezer. A Creami makes it silkier, but it’s optional.
Is regular ice cream high in protein?
Not really — it’s mostly cream and sugar, with just a few grams of protein. That’s the whole reason making your own is worth it.
High Protein Ice Cream
Equipment
- Blender or food processor
- Loaf pan or freezer-safe container
Ingredients
Base
- 2 cups full-fat cottage cheese about 16 oz; or substitute Greek yogurt
- 3 tbsp honey or maple syrup; to taste
- 1 tsp vanilla extract
- 1 pinch salt
Optional
- 2 tbsp heavy cream for extra creaminess
- 1 scoop protein powder for an extra protein boost
Instructions
- Add the cottage cheese, honey, vanilla, and salt (plus the cream or protein powder, if using) to a blender or food processor. Blend until completely smooth, scraping down the sides so no curds remain.
- Stir in any flavorings or mix-ins you like — cocoa powder, espresso, peanut butter, fruit, or chocolate chips. Taste and adjust the sweetness before freezing, since freezing dulls sweetness slightly.
- No-churn method: pour into a loaf pan, smooth the top, and freeze for 3 to 4 hours, stirring at the 30-minute and 1-hour marks to keep it creamy.
- Ninja Creami method: pour into a Creami pint, freeze flat for 24 hours, then spin on Lite Ice Cream. Add a splash of milk and re-spin if needed.
- Mason jar method: for a single serving, halve the recipe, shake in a sealed jar until thick, and freeze 2 to 3 hours, shaking once partway.
- Let it sit at room temperature for 10 to 15 minutes before scooping, since protein-rich bases firm up more than regular ice cream.
Notes
However you make it, high protein ice cream proves dessert doesn’t have to be a trade-off. Pick your base, choose a method, and start with whatever flavor is calling your name — then come back and tell me which one won over your family. 🍦💪